Step 1. The Markup
First, let’s place our button at the top of the page, replacing the default description in the theme.- <div id="registration"><a class="show register-button" href="#register-form">Register</a></div>

- <div style="display:none"> <!-- Registration -->
- <div id="register-form">
- <div class="title">
- <h1>Register your Account</h1>
- <span>Sign Up with us and Enjoy!</span>
- </div>
- <form action="" method="post">
- <input type="text" name="" value="Username" id="" class="input"/>
- <input type="text" name="" value="E-Mail" id="" class="input" />
- <input type="submit" value="Register" id="register" />
- <hr />
- <p class="statement">A password will be e-mailed to you.</p>
- </form>
- </div>
- </div><!-- /Registration -->
Step 2. CSS
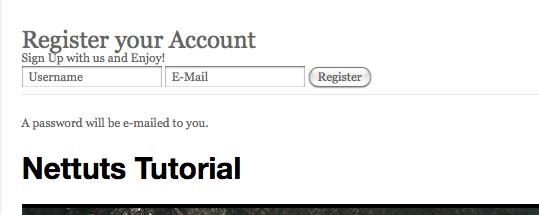
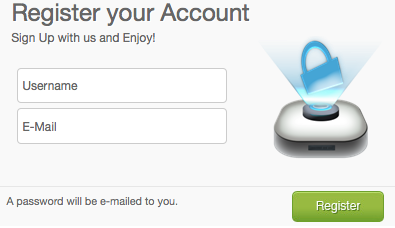
The CSS is rather simple; I’m merely styling a quick form design in PhotoShop.The form, minus the styling, looks like so: (note that I’ve removed the display:none in the markup to check my styles)
- div#register-form {
- width: 400px;
- overflow: hidden;
- height: 230px;
- position: relative;
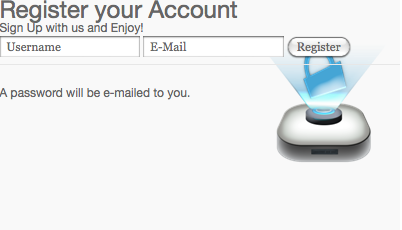
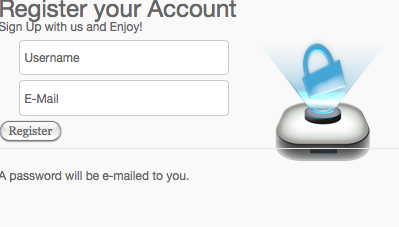
- background: #f9f9f9 url(images/secure.png) no-repeat 260px 40px;
- font-family: Helvetica Neue, Helvetica, Arial !important;
- }
- div#register-form input[type="text"] {
- display: block;
- border: 1px solid #ccc;
- margin: 5px 20px;
- padding: 9px 4px;
- -moz-border-radius: 4px;
- -webkit-border-radius:4px;
- width: 200px;
- font-family: Helvetica Neue, Helvetica, Arial !important;
- }
- div#register-form input[type="text"]:hover {
- border-color: #b1b1b1;
- }
- div#register-form input[type="text"]:focus {
- -moz-box-shadow: 0 0 3px #ccc;
- -webkit-box-shadow: 0 0 3px #ccc;
- }
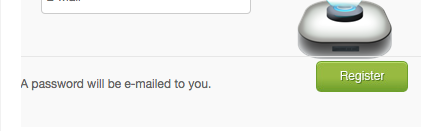
- div#register-form input[type="submit"]#register {
- background: url(images/register.jpg) no-repeat;
- border: 0;
- clear: both;
- cursor: pointer;
- height: 31px;
- overflow: hidden;
- position: relative;
- left:295px;
- text-indent: -9999px;
- top:42px;
- width:92px;
- }
- div#register-form input[type="submit"]#register:hover {
- background-position: 0 -32px;
- }
- div#register-form span {
- display: block;
- margin-bottom: 22px;
- }
- div#register-form div.title {margin-left:15px}
- div#register-form div.title h1,
- div#register-form div.title span {text-shadow:1px 1px 0px #fff}
- div#register-form div.title h1 {
- margin:7px 0;
- }
- p.statement {
- position:absolute;
- bottombottom:-2px;
- left:10px;
- font-size:.9em;
- color:#6d6d6d;
- text-shadow:1px 1px 0px #fff;
- }
Step 3. jQuery
First, we need to include jQuery within WordPress. To achieve this, we need to place the following chunk of code before the <head> tag within the header.php file. Remember, as WordPress itself utilizes jQuery, we don’t want to potentially load it twice!- <?php wp_enqueue_script("jquery"); ?>
- <?php wp_head(); ?>
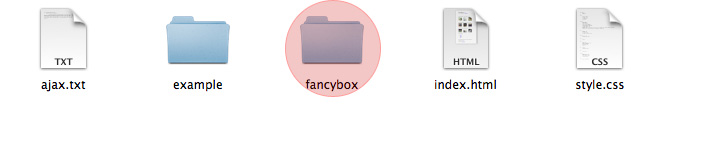
- <link rel="stylesheet" type="text/css" href="<?php bloginfo('template_url'); ?>/includes/fancybox/jquery.fancybox-1.3.1.css" media="screen" />
- <!-- Javascript -->
- <script type="text/javascript" src="<?php bloginfo('template_url'); ?>/includes/fancybox/jquery.mousewheel-3.0.2.pack.js"></script>
- <script type="text/javascript" src="<?php bloginfo('template_url'); ?>/includes/fancybox/jquery.fancybox-1.3.1.pack.js"></script>
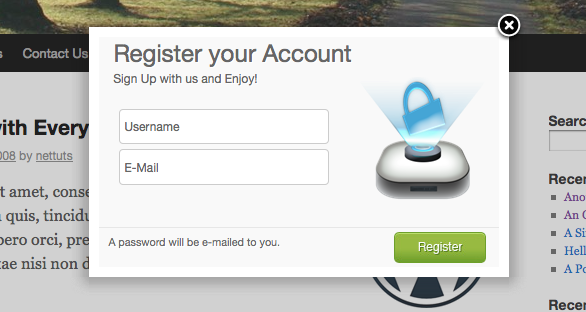
- jQuery(document).ready(function() {
- jQuery(".show").fancybox({
- 'titleShow' : 'false',
- 'transitionIn' : 'fade',
- 'transitionOut' : 'fade'
- });
- });
Step 4. WordPress
There is nothing fancy here; we only require two WordPress snippets, hidden within the wp-login.php file.The first snippet:
- <?php echo site_url('wp-login.php?action=register', 'login_post') ?>
- <?php do_action('register_form'); ?>
- <div style="display:none"> <!-- Registration -->
- <div id="register-form">
- <div class="title">
- <h1>Register your Account</h1>
- <span>Sign Up with us and Enjoy!</span>
- </div>
- <form action="<?php echo site_url('wp-login.php?action=register', 'login_post') ?>" method="post">
- <input type="text" name="user_login" value="Username" id="user_login" class="input" />
- <input type="text" name="user_email" value="E-Mail" id="user_email" class="input" />
- <?php do_action('register_form'); ?>
- <input type="submit" value="Register" id="register" />
- <hr />
- <p class="statement">A password will be e-mailed to you.</p>
- </form>
- </div>
- </div><!-- /Registration -->
And with that, we’re done!

No comments:
Post a Comment